We Treat Your Home Like Our Own
Midwest Construction & Remodeling proudly serves Twin Cities homeowners with unmatched service and quality. From first contact to project completion, we deliver expert craftsmanship backed by decades of experience.
Home remodeling can be stressful, but we’re here to make it easy. From permits to debris removal and insurance coordination, Our Team will handle every detail to ensure a smooth, low-stress experience with minimal disruption to your daily life.
Every project is done right the first time using top-quality materials and the latest techniques. With Midwest Construction & Remodeling, your home remodel or Storm Damage Repair is completed efficiently and to exact specifications.

Estimate Request Form
“From Concept to Creation!”
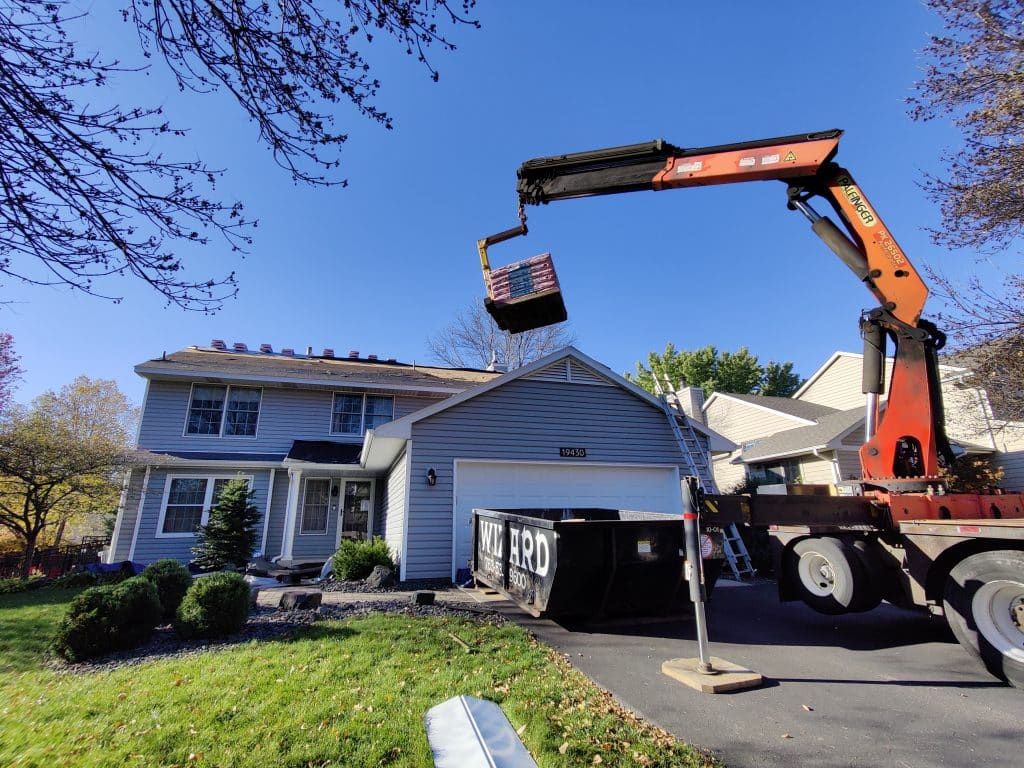
Your exterior is your home’s first line of defense. Whether it be storm, hail, sunlight, wind, or rain, life happens, and choosing the right Your home’s exterior is its first line of defense—and life happens. Choosing the right Roofing and exterior remodeling company can feel overwhelming.
Midwest Construction & Remodeling, based in Plymouth, Minnesota, is proud to serve the Twin Cities with trusted, local expertise. We focus on building lasting relationships through reliable exterior remodeling and storm damage repair tailored to your needs.
Whether you’ve filed an insurance claim, need emergency repairs, or are preparing to sell, we deliver a stress-free experience—on time and within budget.
FAQs
What factors should I consider when selecting a roofing company?
When choosing a roofing company in Minnesota, consider experience, licensing, insurance, warranties, and customer reviews. Ensure they offer quality materials, fair pricing, and reliable service. Look for local expertise in handling Minnesota’s climate challenges, including heavy snow and storms. Always request references and a detailed project estimate.
What are common issues found during a roof inspection in Minnesota?
A roof inspection in Minnesota often uncovers leaks, missing or damaged shingles, ice dams, poor ventilation, and structural weaknesses caused by heavy snow or storms. Inspectors also check for mold, flashing issues, and gutter problems. Addressing these early prevents costly repairs and extends your roof’s lifespan in harsh weather conditions.
Can vinyl windows be installed in any type of home?
Yes, vinyl window installation in Minnesota suits most home styles, including historic, modern, and traditional designs. Vinyl windows offer energy efficiency, durability, and low maintenance. They come in various sizes, finishes, and styles to complement any architecture while withstanding Minnesota’s extreme temperatures and providing long-lasting performance.
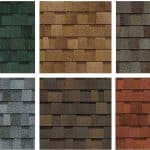
Can I customize the style or design of my replacement windows?
Absolutely! Window replacement in Minnesota allows customization of styles, colors, grids, and glass options to match your home’s aesthetics. Choose from double-hung, casement, bay, or specialty shapes. Energy-efficient upgrades and frame materials ensure durability while enhancing curb appeal and comfort in Minnesota’s fluctuating climate.
Do roofing contractors in Minnesota offer emergency roofing services?
Yes, a roofing contractor in Minnesota often provides emergency services for storm damage, leaks, or structural failures. Quick response prevents further damage and costly repairs. Many offer 24/7 availability, temporary tarping, and insurance claim assistance to restore your roof promptly after severe weather conditions.
Words From Our Happy Clients

“Midwest Construction & Remodeling did an amazing job on my roof / house repair. They worked diligently with my non-cooperative insurance company to get everything approved. When others would have given up, they pressed on and did not, always assuring me along the way.”…
Stephanie S
Maple Grove, MN“Midwest Construction and Remodeling has exceeded all my expectations. They handled our complete roof and gutter replacement job expertly and professionally.”…
Jacqueline D,
Shorewood, MN