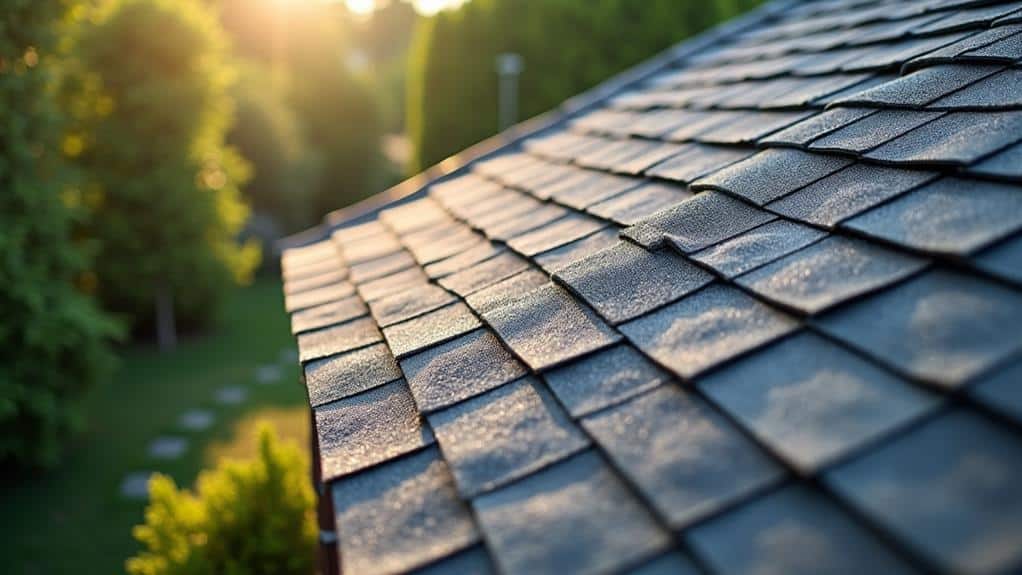
The best seasons for roof repair or replacement are spring and fall. During spring, you can identify winter storm damage and take advantage of mild weather for quick repairs. Fall offers cooler temperatures, making it comfortable for contractors to work. Both seasons provide dry conditions, minimizing moisture-related issues. Summer can pose heat challenges, and winter often hides potential problems under snow. By scheduling your repairs during spring or fall, you guarantee your roof is in top shape before harsher weather sets in. Discover more tips to make the most of your roof maintenance throughout the year.
Key Takeaways
- Spring and fall are the best seasons for roof repairs due to moderate temperatures and reduced weather-related delays.
- Early inspections in spring catch winter damage, preventing costly repairs later.
- Fall’s cooler weather allows for comfortable working conditions and thorough inspections before winter.
- Avoid summer’s extreme heat and unpredictable storms that can complicate roofing projects.
- Winter can be challenging, but addressing issues early prevents a rush in spring repairs.
Spring: Benefits and Considerations

Spring is a season of renewal, making it an ideal time for roof repair or replacement. As the cold weather fades, you can focus on crucial spring maintenance tasks, ensuring your home’s roof is in top shape.
It’s a great opportunity to gather with neighbors and share experiences about local contractors, creating a sense of community while ensuring your home is secure. Spring is also the perfect time to identify storm damage that may have occurred during winter, such as missing shingles or potential leaks.
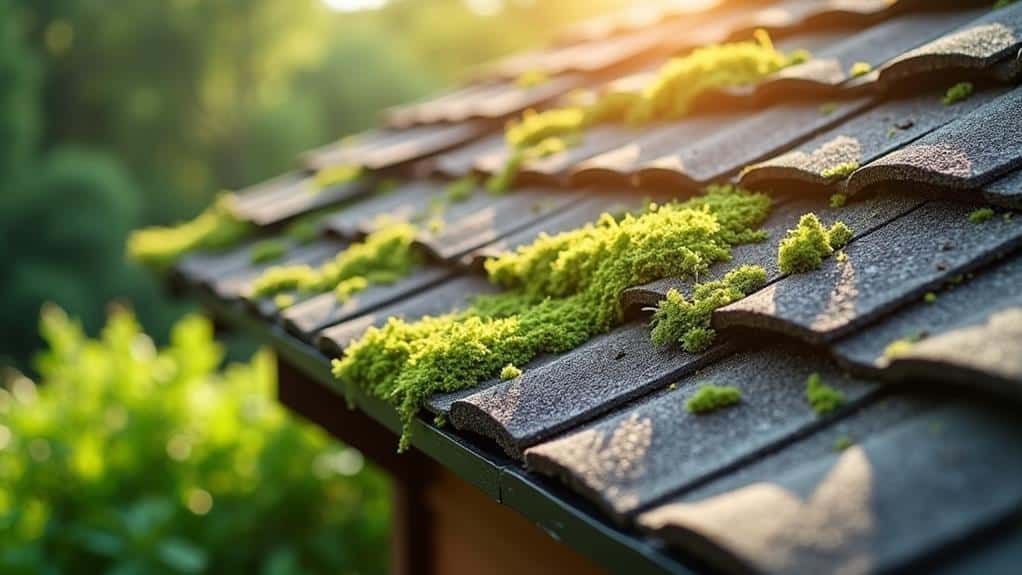
Start by scheduling roof inspections to identify any damage from winter storms. You don’t want to overlook small leaks or missing shingles that could turn into bigger problems later. By acting now, you’ll not only protect your home but also enhance its curb appeal, allowing it to shine in the spring sunshine.
Consider the benefits of tackling these repairs early. You’ll likely avoid the rush when summer arrives, which means more availability from contractors. Plus, spring weather is generally mild, making it easier for workers to complete repairs without delays.
In this season of growth and renewal, taking care of your roof can bring peace of mind and a stronger sense of belonging in your home.
Summer: Pros and Cons
During the summer months, homeowners often find it tempting to schedule roof repairs or replacements due to the warm weather and longer days. The bright sun can make it easier for contractors to work efficiently, allowing for quicker project completions.
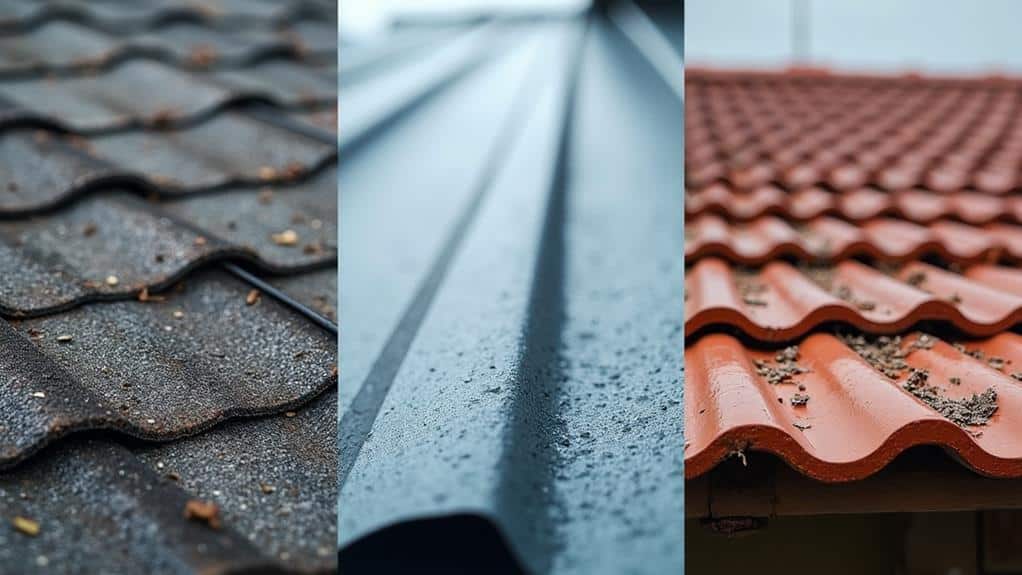
However, you should consider the heat effects on various roofing materials. Some materials may expand or become less effective under extreme temperatures, which could lead to issues down the road. When selecting materials, it’s essential to factor in climate suitability and how different options perform in hot conditions.
On the flip side, summer offers you a wider selection of material choices. You can explore options that are well-suited for hot climates, enhancing your roof’s durability.
Plus, many contractors are available and enthusiastic to take on projects during this season.
Yet, keep in mind that summer storms can pop up unexpectedly, potentially delaying your repairs. You also need to make sure your contractor has a solid plan in place to protect your home from sudden weather changes.
While summer can be a great time for roofing projects, weigh the pros and cons carefully. After all, you want your home to stand strong and look beautiful for years to come.
Fall: Ideal for Repairs
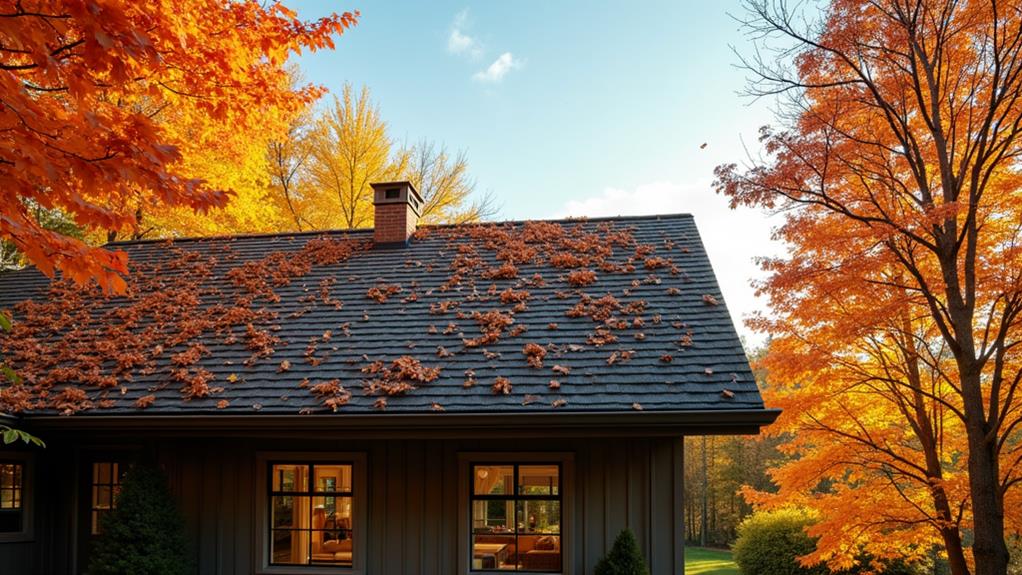
As summer fades, fall emerges as an ideal time for roof repairs and replacements. The cooler temperatures and lower humidity make working conditions more comfortable for both you and the roofing professionals.
Plus, it’s a great opportunity for fall maintenance that can help protect your home through the winter. Regular roof inspections are vital for preventing costly repairs and extending the life of your home’s exterior. Experts recommend biannual checks, particularly after severe weather events.
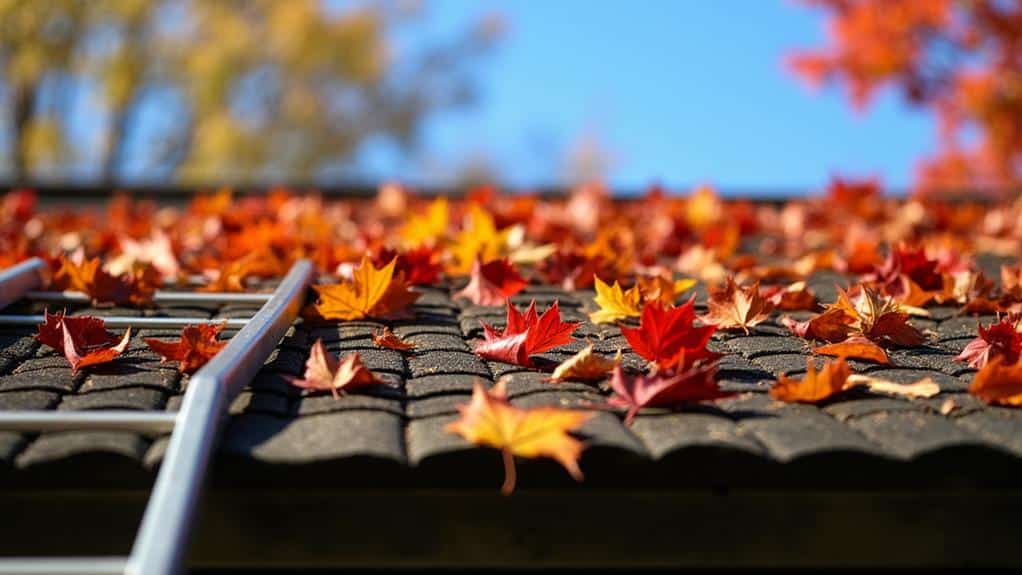
Here are three reasons why you should consider scheduling your roof work this autumn:
- Autumn Inspections: Before winter sets in, it’s wise to have a thorough inspection. This helps catch any issues early, keeping your home safe and sound.
- Favorable Weather: The mild fall climate is perfect for repairs. You won’t have to worry about extreme heat or unpredictable storms delaying your project.
- Preparation for Winter: Addressing any roof problems now means you can relax knowing your home is ready to face the harsher winter months.
Winter: Challenges and Opportunities
Facing winter can bring unique challenges for roof repair and replacement, but it also offers distinct opportunities. When snow blankets your roof, it can hide potential issues that need attention. Before any work begins, you’ll want to prioritize snow removal. Clearing the roof not only protects it from added weight but also prevents further complications, like ice dams, which can lead to leaks and costly repairs.
Straight-line winds, which can reach speeds of up to 150 mph during winter storms, pose an additional threat to roofs, making timely repairs even more essential.
However, winter is also a time when many roofing companies have more availability. You might find that scheduling repairs or a replacement is easier during the off-peak season. Plus, if you plan ahead and address any existing issues, you can avoid the spring rush when everyone else is trying to get their roofs fixed.
While the cold weather can limit some roofing activities, it’s vital to stay proactive. If you keep an eye on the condition of your roof and address problems as they arise, you’ll keep your home safe and sound.
Embrace the opportunities that winter presents, and remember: taking care of your roof now can save you headaches later. Your home deserves the best, no matter the season.
Weather Impact on Roof Work

Winter’s challenges can linger into other seasons, reminding homeowners that weather greatly impacts roof work. As you plan your roof repairs or replacement, consider how temperature effects and precipitation influence your project.
Ideally, you want to work during dry, moderate weather for the best results. Impact-resistant options can provide superior protection against severe weather conditions, making them an excellent choice for roof upgrades.
Three key weather factors to keep in mind:
- Temperature Effects: Extreme heat or cold can affect the materials used. For example, shingles may not adhere properly in freezing temperatures, while high heat can cause them to warp.
- Precipitation Influence: Rain or snow can delay your project and lead to further damage. It’s best to avoid scheduling work during wet seasons to keep your roof in top shape.
- Wind Considerations: High winds can’t only make working conditions dangerous but also lead to debris that can damage your roof further.
Choosing the Right Contractor
Selecting the right contractor is vital for guaranteeing your roof repair or replacement goes smoothly. You want someone who understands your needs and can deliver quality work on time.
Start by checking contractor qualifications. Look for licenses, insurance, and positive reviews from previous clients. A qualified contractor not only has the right skills but also values communication, keeping you in the loop throughout the process.
It’s important to verify contractor credentials and examine their past projects to confirm they’ve relevant experience with similar roofing tasks.
Next, discuss project timelines upfront. A reliable contractor will provide a clear estimate of how long the work will take. This transparency helps you plan accordingly and minimizes any surprises, allowing you to feel at ease.
Don’t hesitate to ask questions; a good contractor welcomes your inquiries and offers straightforward answers.
Preparing for Seasonal Changes
As the seasons change, it’s crucial to prepare your roof for the challenges that come with each one.
A little seasonal maintenance now can save you from bigger problems down the line. You want your home to be a safe haven, and that starts with a strong roof.
Here are three key steps to take:
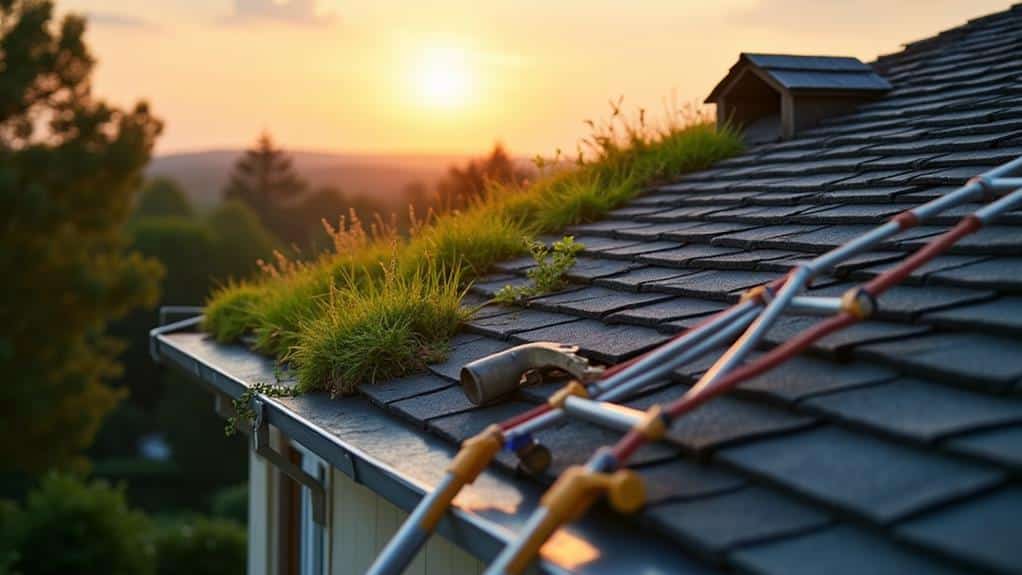
- Schedule roof inspections: Before winter hits, have a professional check for any damage or wear. They’ll spot issues you might miss.
- Clean gutters and downspouts: Clogged gutters can lead to water damage. Make sure they’re clear of leaves and debris to prevent ice damming in colder months.
- Trim overhanging branches: If you have trees near your roof, trim any branches that could fall during storms, protecting your roof from unnecessary damage.
Frequently Asked Questions
How Long Does a Typical Roof Replacement Take?
A typical roof replacement takes about one to three days, depending on various replacement factors like size and materials. Understanding the roofing timeline helps you prepare and guarantees your home’s roof is solid and secure.
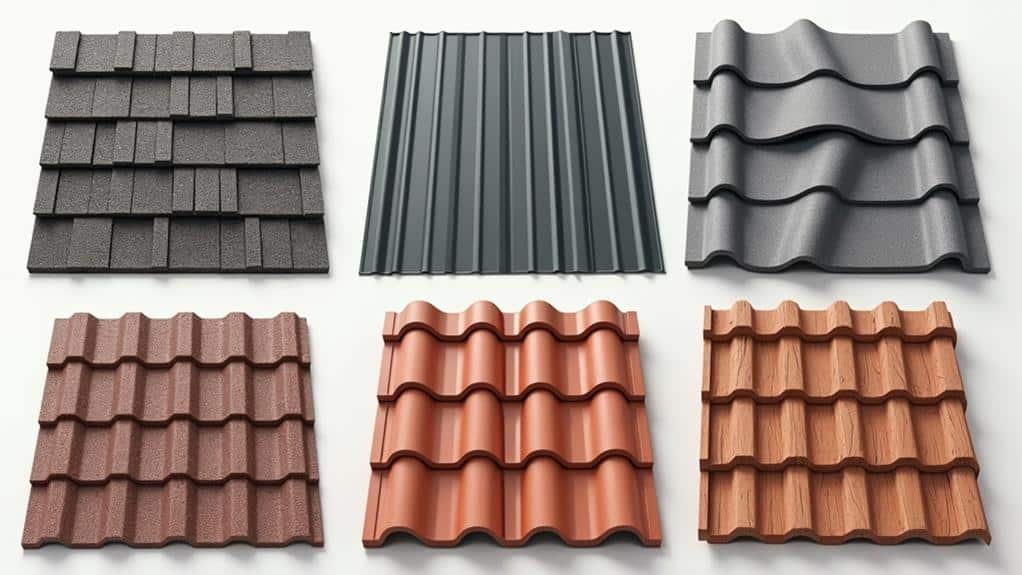
What Materials Are Best for Seasonal Roofing Projects?
When choosing materials for your seasonal roofing project, consider metal roofing for durability, asphalt shingles for cost-effectiveness, and eco-friendly options to enhance sustainability. Each choice offers unique benefits that fit your needs and preferences.
Can I Repair a Roof Myself?
You can repair your roof yourself, but prioritize DIY safety. Make certain you’ve got the right tools and materials. Regular roof maintenance helps prevent bigger issues, so stay proactive and make certain your home stays safe and sound.
How Do I Know if My Roof Needs Repair?
To know if your roof needs repair, look for roof damage indicators like missing shingles, leaks, or sagging. Notice the signs of deterioration, and trust your instincts—taking action early can save you from bigger problems.
What Is the Average Cost of Roof Repair?
The average cost of roof repair varies based on several cost factors, like the extent of damage and materials used. You’ll want to get multiple quotes to find the best deal for your needs.
Conclusion
To summarize, timing your roof repair or replacement can make a big difference. Spring and fall offer great conditions, while summer can be too hot and winter too challenging. Always consider weather impacts and choose a reliable contractor to guarantee a smooth process.
At MWCR Homes, our construction and remodeling experts can help you navigate these seasonal considerations for your roofing project. By preparing for seasonal changes, you can protect your home and keep your roof in top shape. So, plan ahead with MWCR Homes and enjoy peace of mind knowing your roof is ready for whatever comes next!